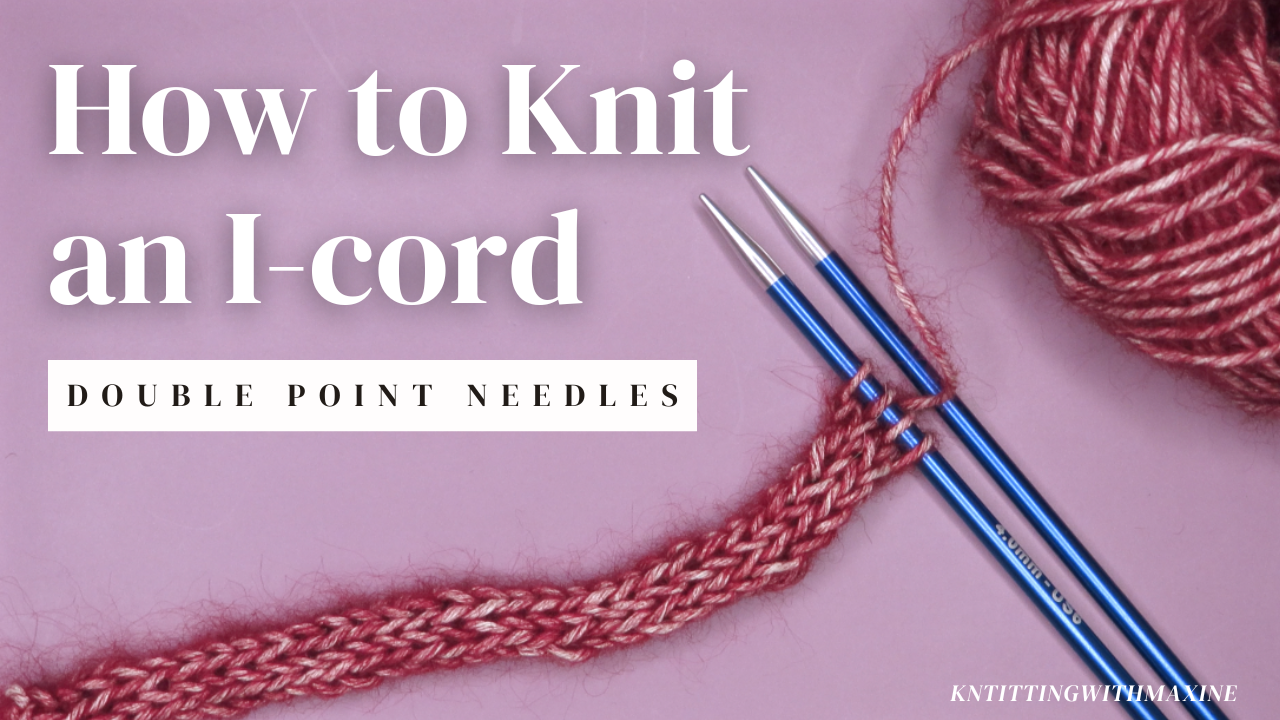
I recently learnt how to make I-Cords with double-point needles (DPNS) and it was a million times easier than I ever expected it to be. This is a must-know for any knitter and can be used to make straps, handles, trims and embellishments to your knitted projects. In this blog, I’ll guide you through making an I-cord using double-pointed needles (DPNs), step by step.
Materials You’ll Need
To get started, you’ll need:
- 4mm Double-Pointed Needles (DPNs) – I’m using Knit Pro DPNs, which come in a pack of five, but you only need two for this project.
- Yarn – I’m using Garland yarn from Hobbii, a blend of 70% cotton and 30% alpaca.
- Scrap Yarn – For demonstration purposes, I’ll be using the shade Cosmos (22).
- Tapestry Needle – For finishing off your I-cord.
- Scissors – To cut your yarn when you’re done.
Step-by-Step Guide to Knitting an I-Cord
Step 1: Casting On
Start by creating a slip knot, leaving a small tail for casting on stitches.
Using the long tail cast-on method, cast four stitches onto one of your DPNs. If you’re unfamiliar with this method, I have a video tutorial on my channel that explains it in detail.
Step 2: Knitting the I-Cord
Now that you have your four stitches on the needle, it’s time to start knitting:
- Knit the first row as normal. If needed, pull the tail slightly to tighten the first stitch.
- Slide the stitches to the other end of the DPN. Unlike regular knitting, you don’t turn your work.
- Ensure your working yarn wraps around the back of your stitches before you begin knitting the next row.
- Knit the next row. Your yarn should always appear to be coming out of the last stitch.
- Repeat the process. Slide your stitches to the other end of the needle after each row and continue knitting.
This method creates a seamless tube-like structure, giving your I-cord its characteristic look.
Step 3: Casting Off
Once your I-cord reaches the desired length, it’s time to cast off:
- Cut a length of yarn long enough to bind off your stitches.
- Thread your tapestry needle with the yarn tail.
- Slip the stitches off the needle and pass the tapestry needle through them, making sure not to catch the tail thread.
- Pull tight to secure, and weave in any loose ends.
Using Your I-Cord in Projects
Now that you’ve mastered the I-cord, the possibilities are endless! Here’s an example of a project I finished using an I-cord – a bow beret designed by Sachiko Burgen. You can find the pattern here.
Happy knitting!

