In this blog, I’ll be showing you one way you can change yarn colours in your knitting projects.
This method involves carrying the yarn up the side, horizontally up your work. Below you will find a video tutorial and a step-by-step photo instruction on how to change yarn colour.
How to Change Yarn Colours
This method is perfect for a clean finish when working in stripes or block colours.
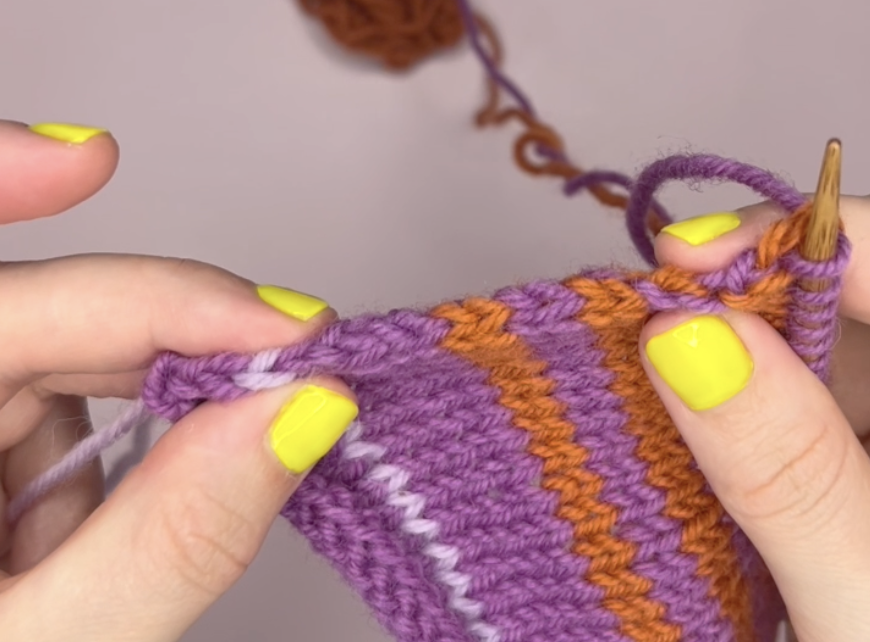
Step 1 – Attach Yarn and Insert Needle into 1st Stitch
If you haven’t already attached your yarn, simply knot the colour into your work. If your new colour is already attached insert your right needle into the 1st stitch on the left needle.
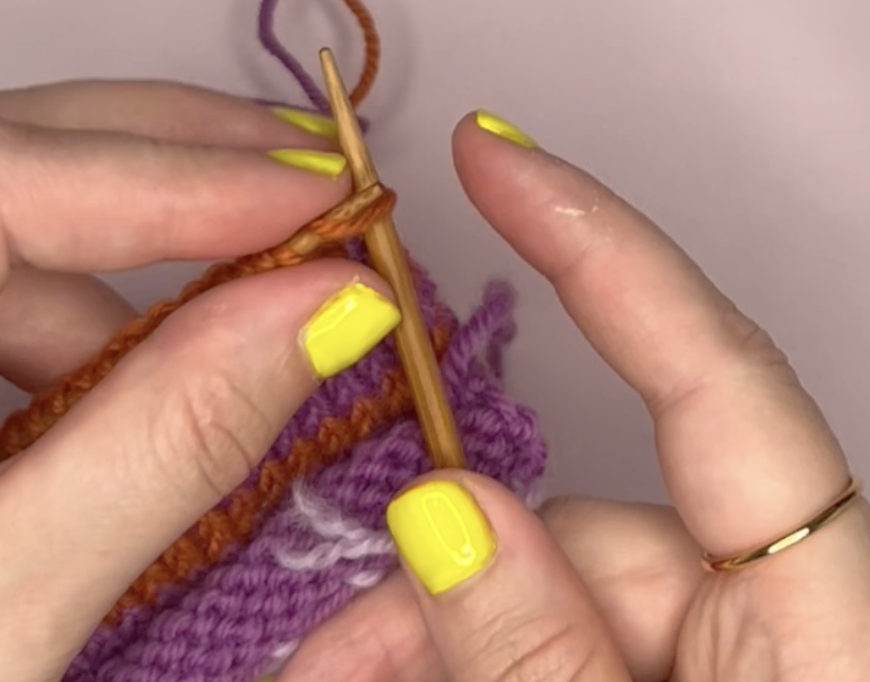
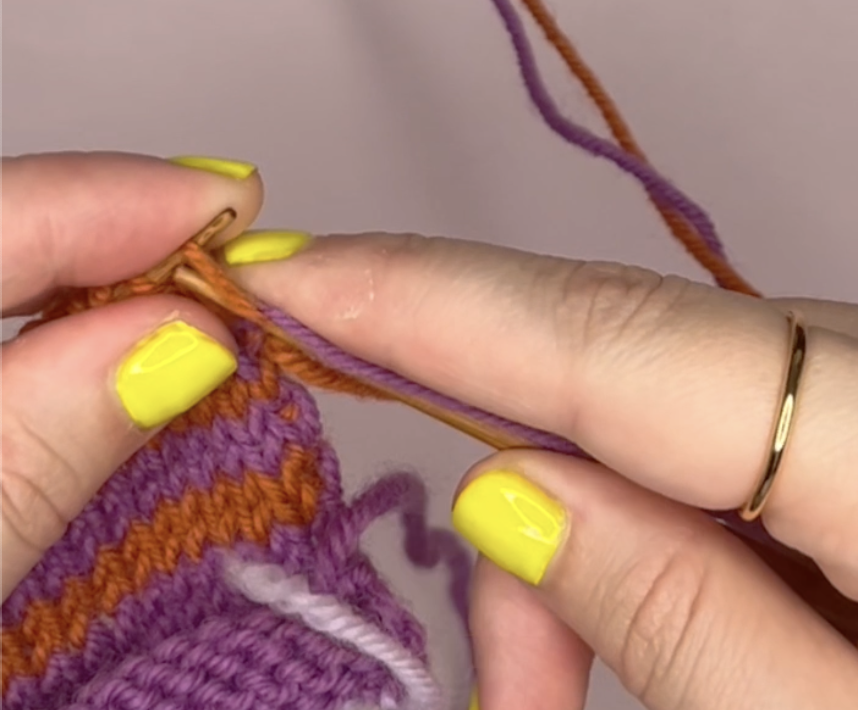
Step 2 – Wrap Yarns to Mask the Previous Colour
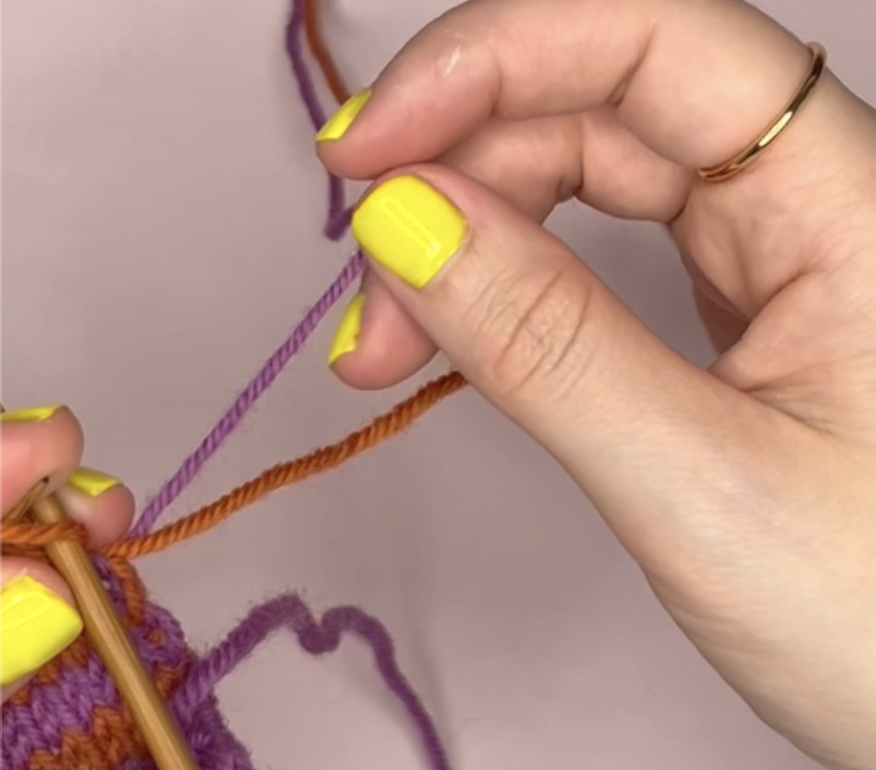

Taking the yarn colour you intend work with wrap over and under the previous colour you were working with. In the case of the diagrams, I am swapping from using the orange to purple, so wrap the purple yarn over and under the piece of orange yarn I was previously working with.
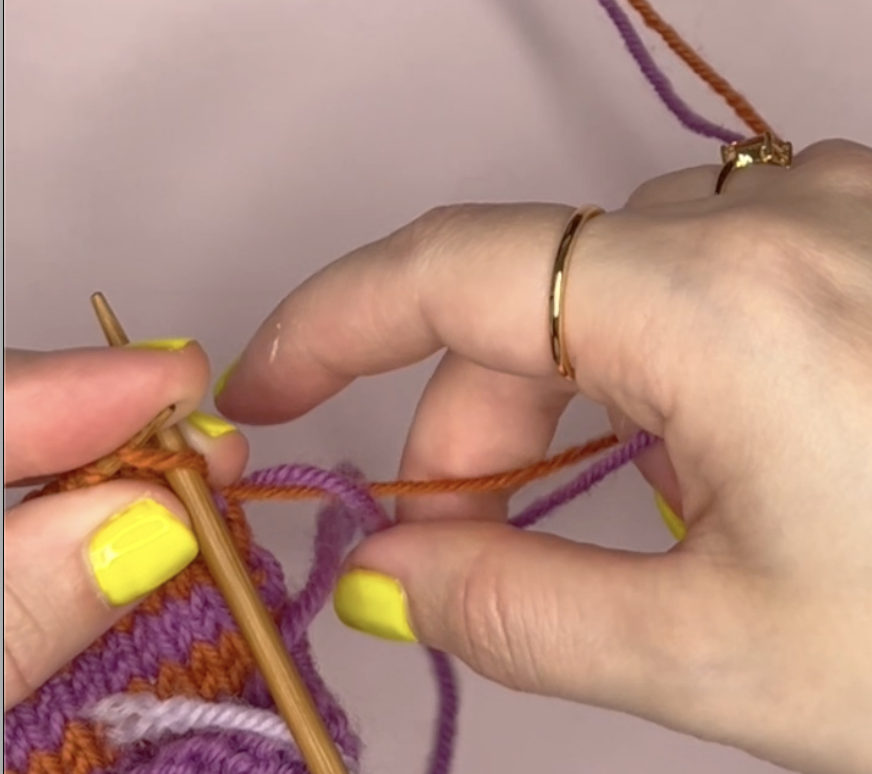
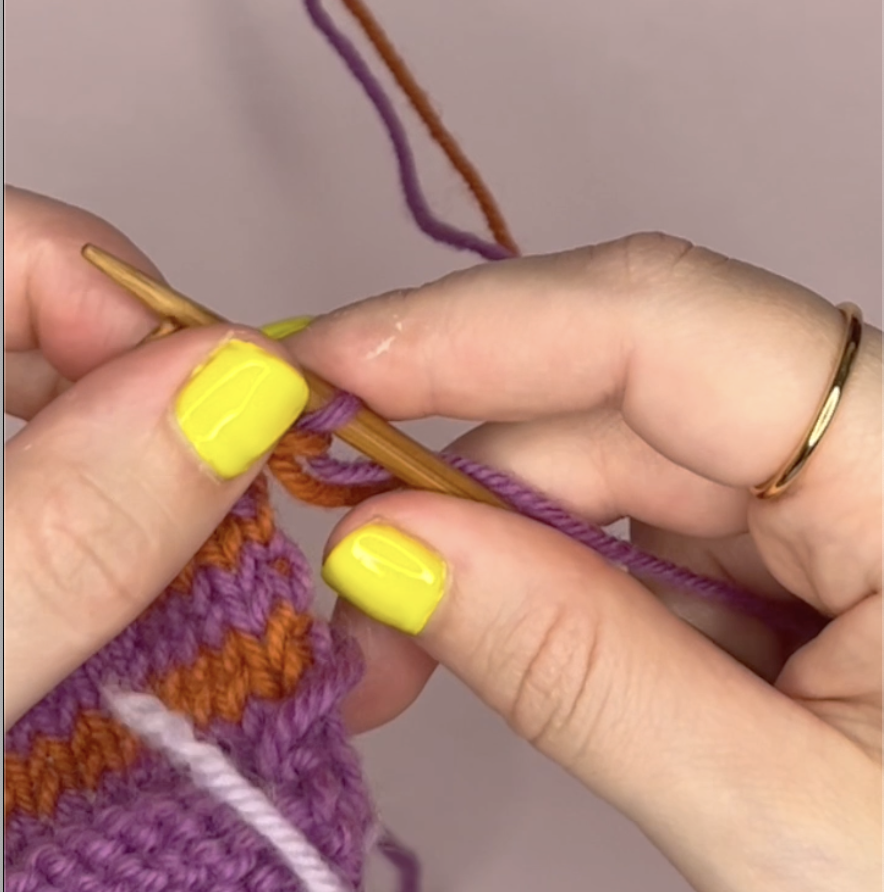
Step 3 – Knit the stitch and work across row
Knit into the first stitch using the colour you’re changing too (in this case the purple). Continue working across your row.
In the image to the right you can see that the purple is now the stitch colour on the needle.
You will work back across the wrong side of your work and repeat the above switching back when your pattern dictates to the other colour in the same fashion.
The Finished Result – Clean Edges!